How to include a font in CSS
Adding a font to a page can be done with both HTML and CSS. Depending on your requirements you can use any of the approaches.
In this article, I will guide you through both approaches in detail of including a font.
Importing a font via HTML
Including a font with HTML is useful when you need to include a Google Font or any other 3rd party font that is hosted on a remote server.
To do that you can use the <link> element with the href attribute that is equal to the URL of the font in the <head> of your page.
Example:
<link href="https://fonts.googleapis.com/css2?family=Roboto&display=swap" rel="stylesheet">
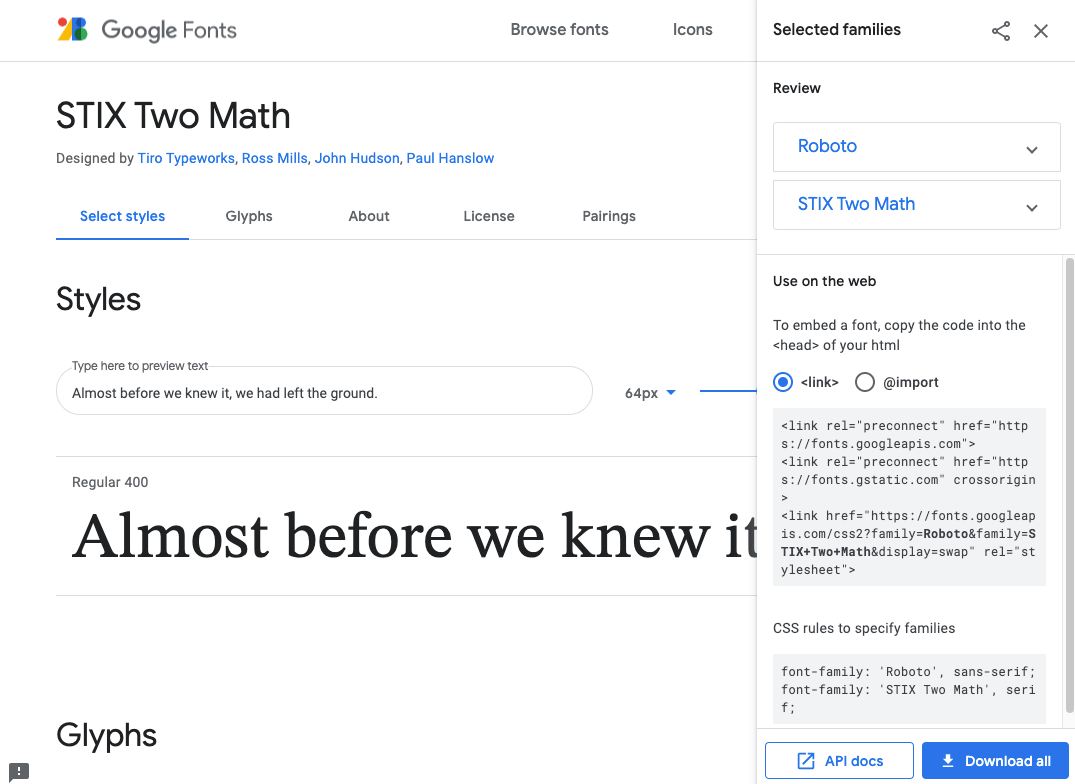
Google Fonts will offer you a ready code snippet that you can insert into your HTML code.
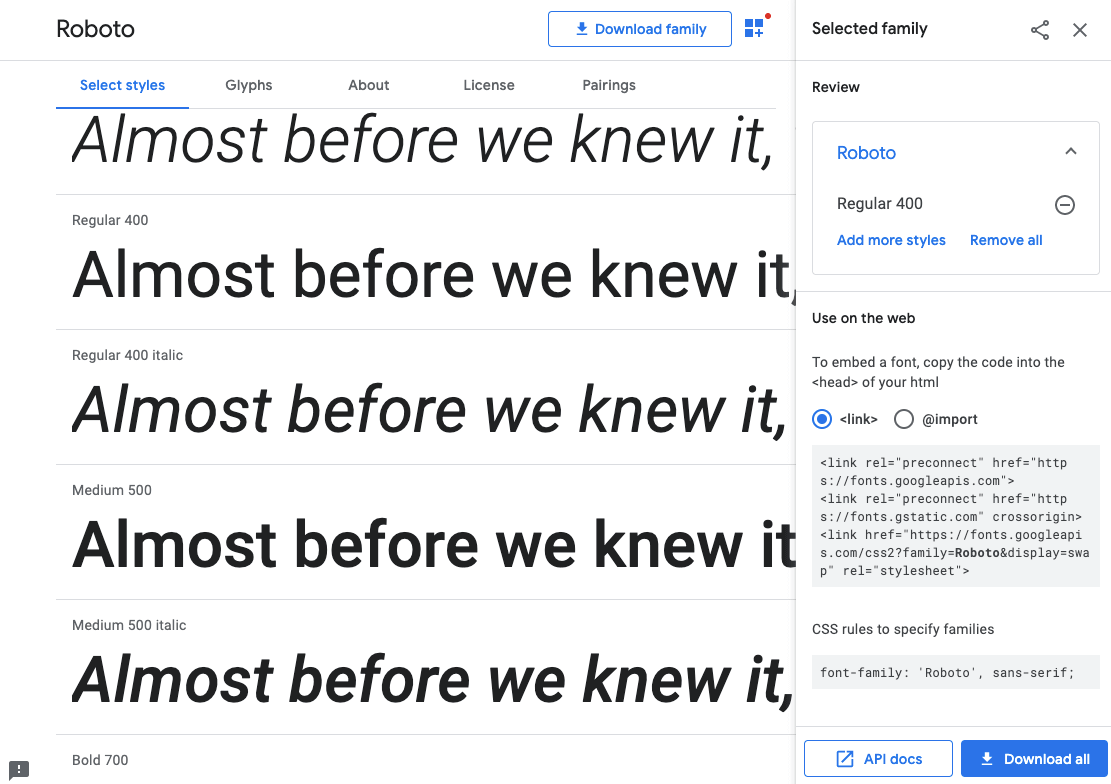
That way you can add multiple fonts to your page. For each font, you can specify a <link> element with a unique URL. However, Google Fonts allows you to select multiple fonts and it will generate a single <link> element with all the fonts included as a URL query.
To then apply an imported font to a text use the font-family property.
Example:
p {
  font-family: 'Roboto', sans-serif;
}
Google Fonts is a fast and easy way to include multiple fonts on your page. However, there are some points you should consider when using this approach, such as:
- The request to the remote server may fail, which will result in a font not being loaded;
- The request response time may take longer than from a self-hosted font, which affects page loading time;
- There can be privacy issues with loading Google Fonts (see GDPR).
Importing a font via CSS
You can also include a font with CSS. This approach is quite handy when you don’t have access to the HTML of the page as well as it is more flexible and allows for more customization.
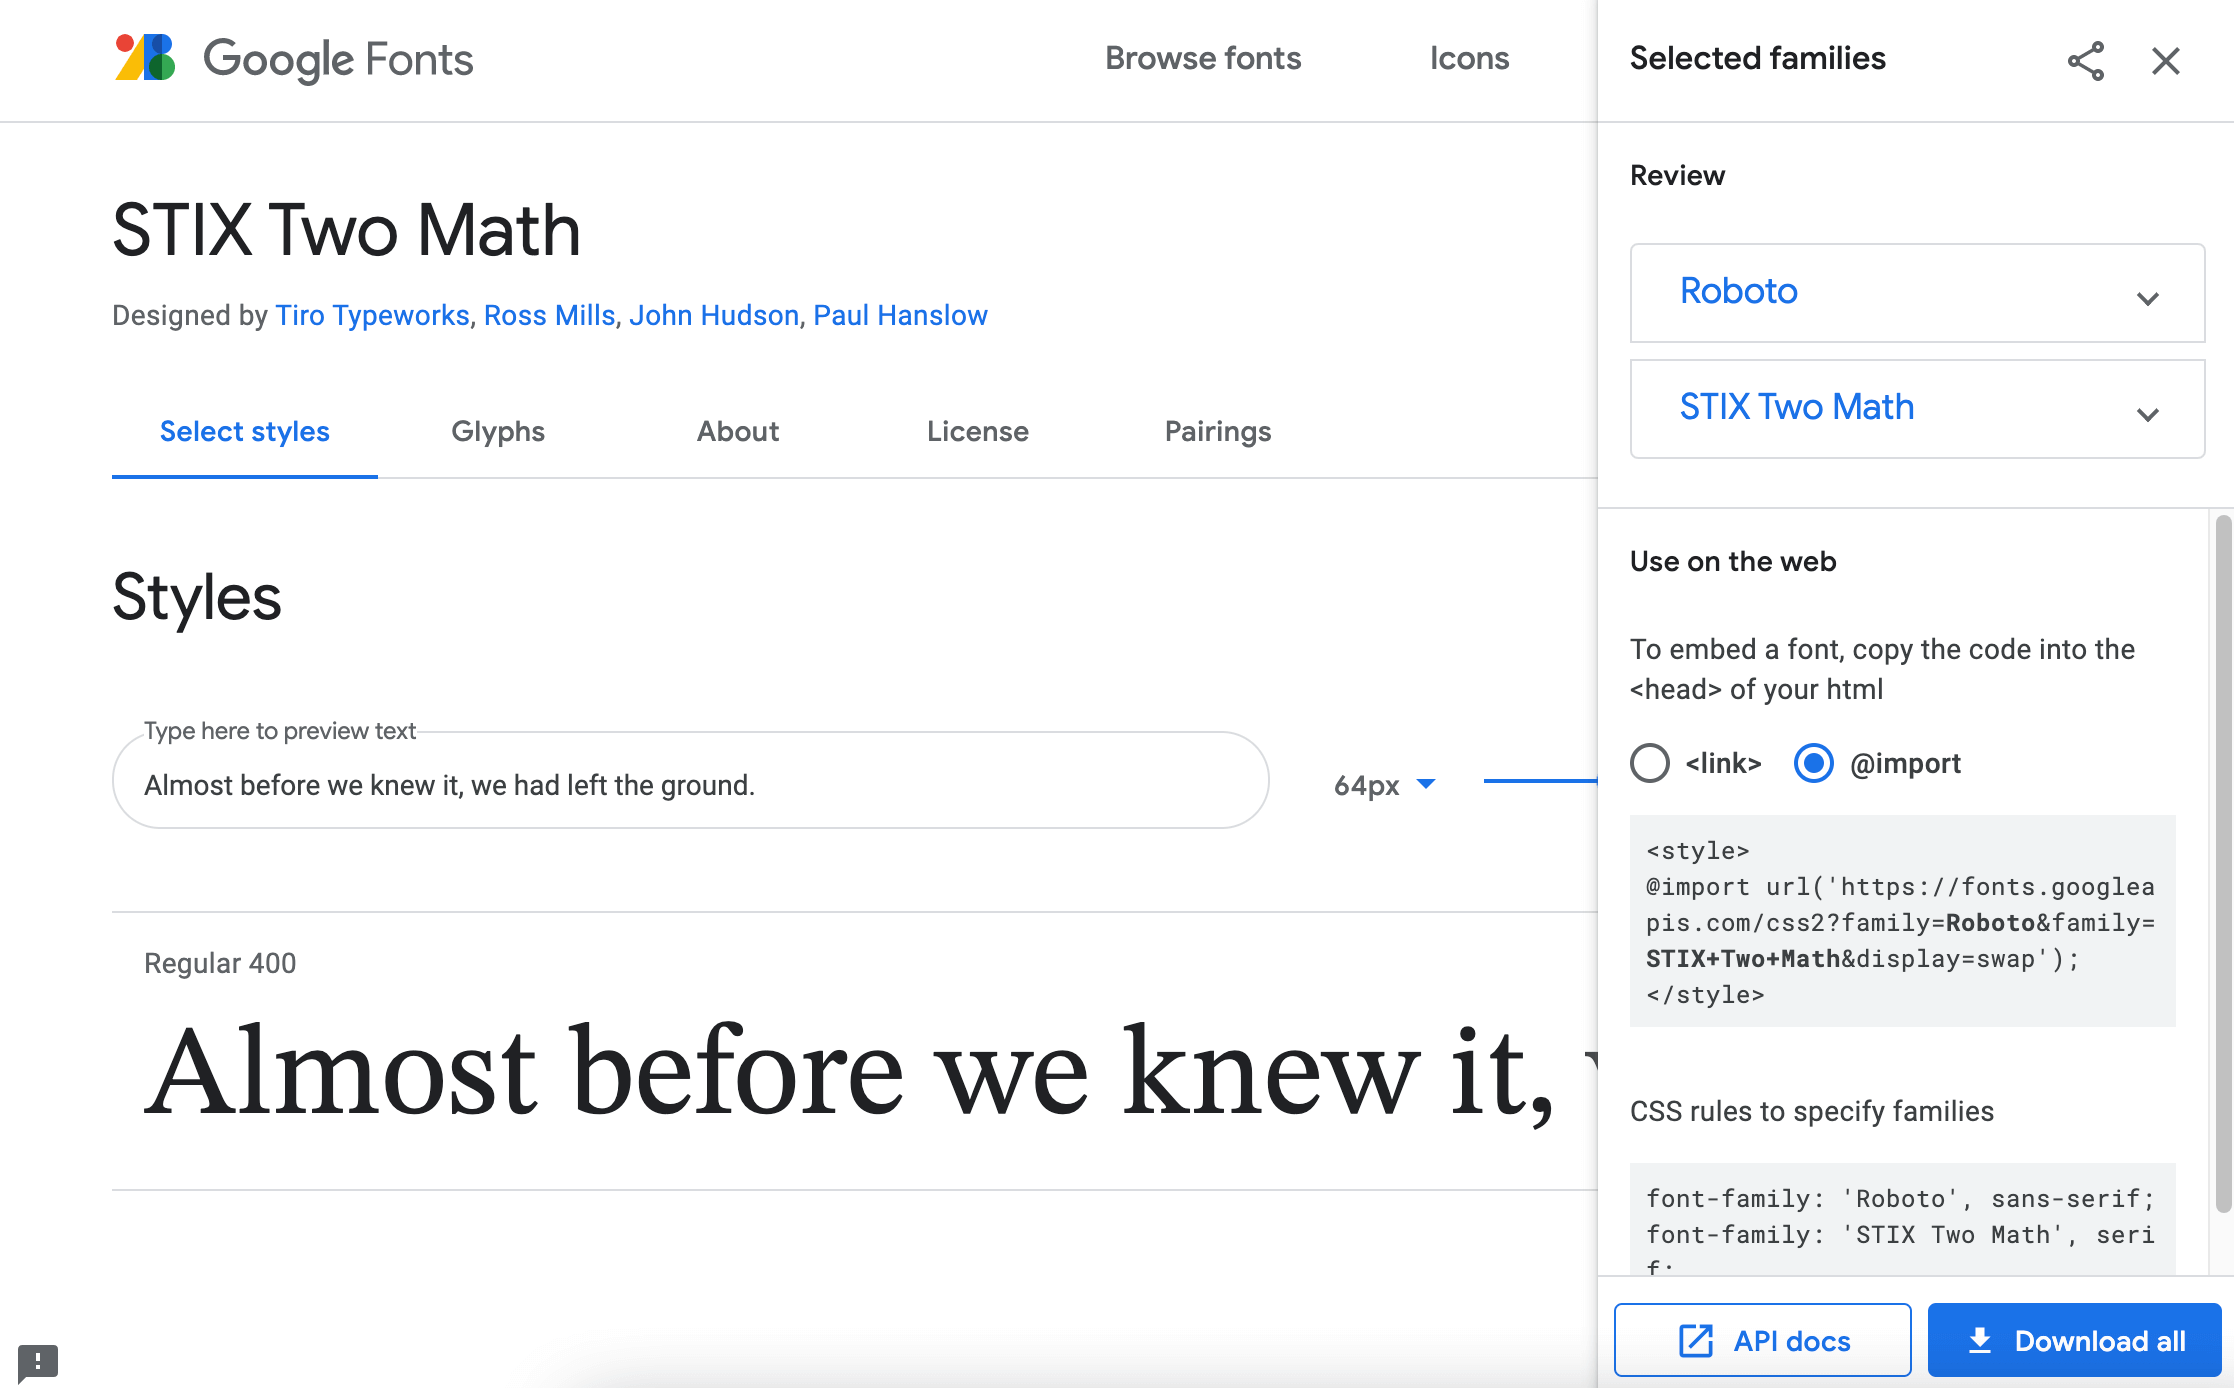
Using the @import rule
The first way to include a font is to use the @import rule. Inside your CSS file or inside the <style> tag on your page define the @import rule with the specified URL of the font.
Example:
@import url('https://fonts.googleapis.com/css2?family=Roboto&display=swap');
If you’re importing Google Fonts, then like in the example above they provide you with code snippet for the @import.
Use the font-family property the same way when applying the font to the text.
Example:
body {
  font-family: 'Roboto', sans-serif;
}
Defining a font (font in a folder)
If you’re concerned about the page load time or the GDPR related issues, or if you have a custom font that’s not a Google Font, you can self-host a font.
In this case, you’ll need to have the font files stored in a separate folder of your project.
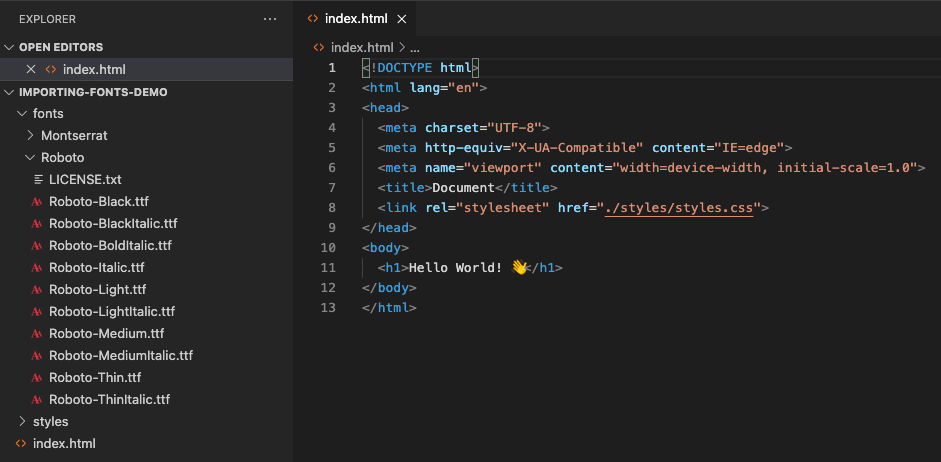
And then you’ll need to define your custom font in the CSS file using the @font-face rule by specifying the font name and providing the path to your font files.
Example:
@font-face {
  font-family: "Roboto";
  src: url("/fonts/Roboto-Medium.ttf") format("truetype");
  font-weight: 400;
}

@font-face {
  font-family: "Roboto";
  src: url("/fonts/Roboto-Bold.ttf") format("truetype");
  font-weight: 700;
}
To apply this font, again you’ll need to use font-family property:
Example:
body {
  font-family: 'Roboto', sans-serif;
  font-weight: 400;
}

h1 {
  font-family: inherit;
  font-weight: 700;
}